This one's a twofer. Remember when radio stations would have Twofer Tuesdays when they'd play two songs from the same artists? It's like that.
Several of us having been on vacation when it first aired, some friends and I wanted to gather to watch the 2013 Rock and Roll Hall of Fame induction ceremony together. The party was held at the house of my friend, Lisa, the biggest Rush fan I know.
I confess I sneaked a peek of a clip of Dave Grohl and Taylor Hawkins performing in white silk pants and kimonos before the party. Who could resist that rock and roll excess? It was really fun enjoying the remainder of the ceremony with other fans.
The party was a pot luck & I was asked to bring a dessert. There are many options in The Red Box but I chose a cake, and a topping. The cake is a Powdered Sugar Pound Cake. There is no mention of a topping or serving suggestion on the recipe. I thought of using fresh berries or whipped cream but I also realized I could knock out another recipe by also making a Lemon Topping. Lemon Topping is a recipe from the box that suggests "serve as topping for cake." Hey, I was making a cake with no other topping. It was an easy decision.

Apparently a full pound of each ingredient makes a cake too large for most home consumption. Consequently, most modern recipes are scaled down and as long as the ratio among those four ingredients remain equal it is still considered a Pound Cake.
I had never attempted a pound cake. I was a bit intimidated because the recipe is written in paragraph form. I read and re-read the thing so many times I probably had it nearly memorized. I just really didn't want to have to do it more than once.
The ingredients aren't numerous but it calls for a lot of each item. I understand a traditional Pound Cake calls for one pound each of flour, sugar, butter, and eggs.

You can see in the bottom of the bowl how shiny the butter was.
When I decided to make the cake I did not count on it being an outrageously hot day. Nevertheless I had to turn on the oven & get to baking.
I set the butter out early in the day so it would be soft when it was time to work with it. It was such a hot day the butter passed the softened stage and was quickly on its way to melting. I didn't even think about it until I placed the butter in the mixing bowl and it was more melty than I thought it should be. I guess I spent so many years living in San Francisco, where sometimes butter wouldn't even soften, that the prospect if it softening too much never occurred to me.
I began beating the butter and the three cubes came together really quickly. It was also extremely shiny.

Nice try, clumps. You're not getting in this batter.
Sifting the powdered sugar went quickly and I managed to get it in the bowl without getting it all over the kitchen - or me.
I started creaming the butter and sugar and that's when I really started to worry. They simply would not get to a light and fluffy stage like the directions instructed. My confidence was pretty low because it was my first attempt at a Pound Cake but I've done enough baking that I didn't panic. I was concerned the sugar was actually melting into the butter. I thought the worst thing that could happen was it might make for a heavy cake that was denser than it ideally should be so I decided to keep going.

Once the butter was creamed, I thought the mixture was slicker than it should have been.
At that point I thought I should mix it as little as possible. In went the eggs. Thankfully they didn't scramble from the heat of the butter.
Once the eggs, and the vanilla, were incorporated it was time for the flour. As with the powdered sugar I was glad to get most of it in the mixing bowl.
It didn't mention to do so in the instructions but I was so concerned about the creamed butter and sugar being too heavy to successfully rise I sifted the flour to give it the best shot. The completely mixed batter still really glistened. I decided to put the mixing bowl in the fridge while I was prepping the pan.
I didn't own a Bundt pan or a tube pan. As a treat for myself when I started this project I decided to buy one. I decided I wanted something different than a classic Bundt pan. Recently, Melissa at Cupcake Friday Project made a beautiful Lemon Lady Grey Bundt Cake With Lemon Icing in a Heritage Bunt pan. There are several really tempting Heritage designs currently available. Her cake was so beautiful it really tipped the scales when I was choosing a pan.
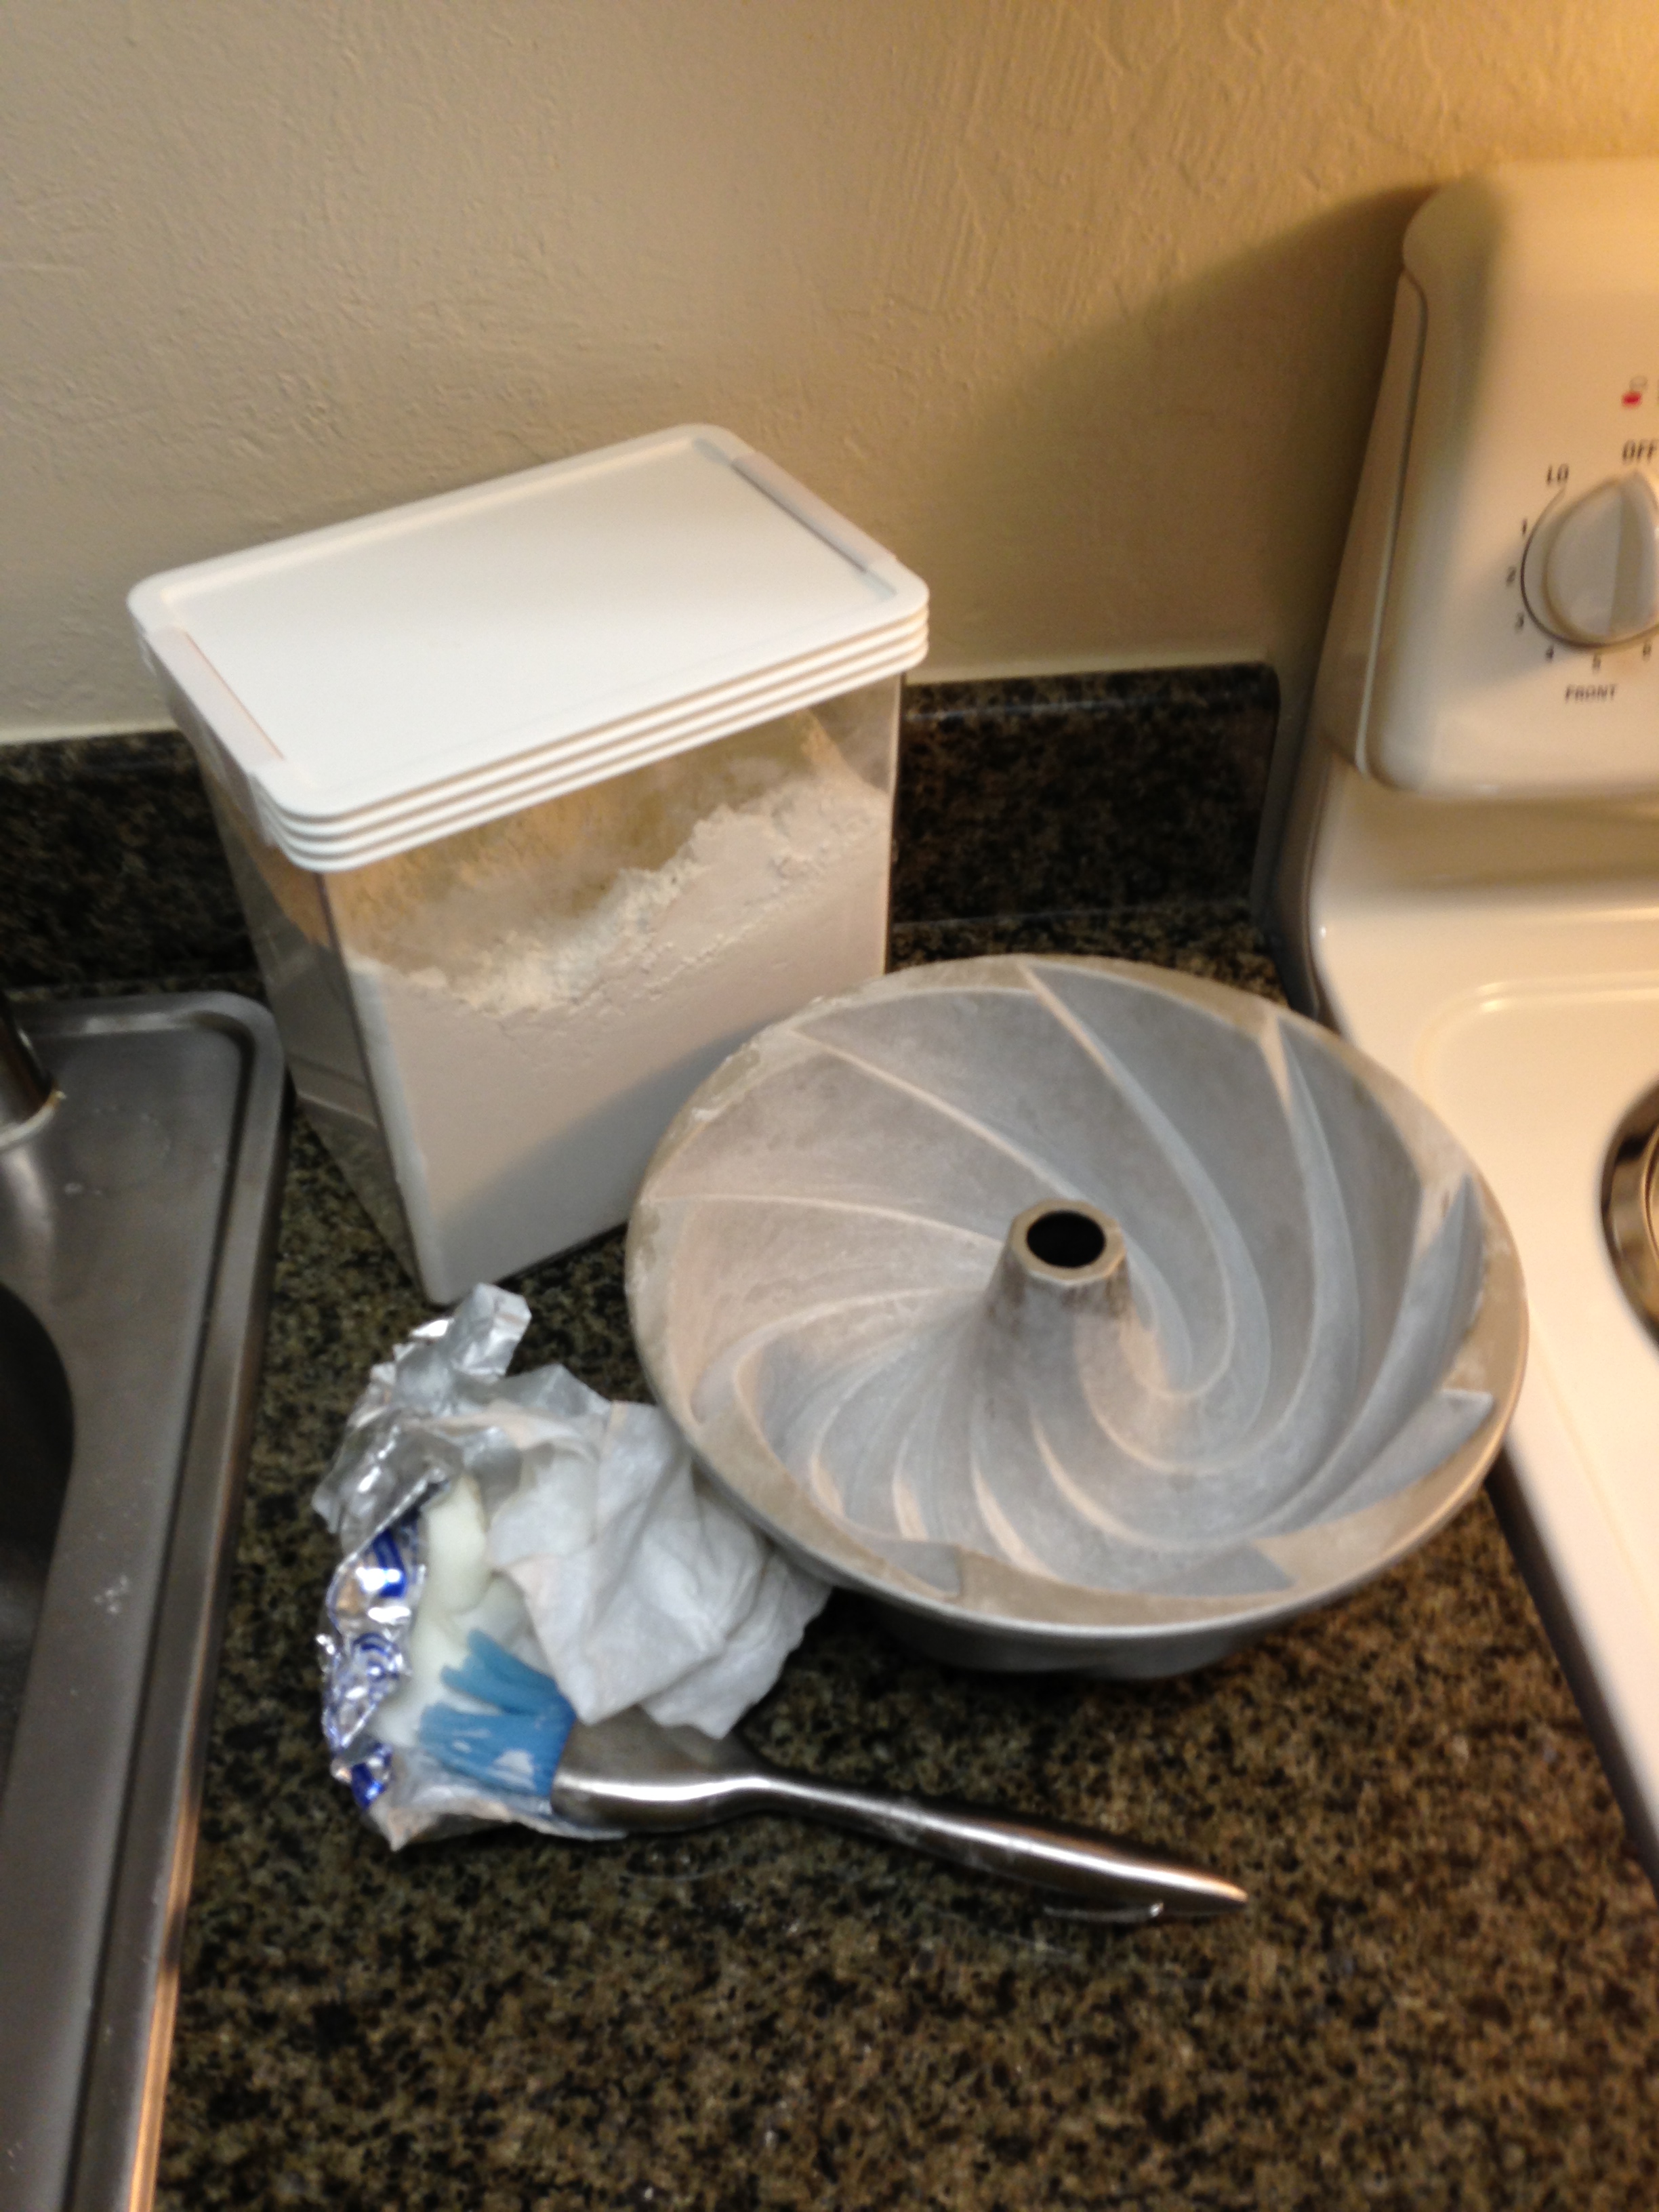
I was so nervous the cake wouldn't successfully release from the pan I really wanted to be sure to adequately grease and flour the pan. A combination of a silicone brush for the tiniest corners and the old-stand-by paper towel dipped in Crisco (a family technique) did the trick.

The batter filled the pan a little higher than I think is ideal. Since I was concerned it wouldn't rise high enough I thought I'd just keep an eye on it.

It turns out the cake rose just fine.

I was really happy with how well the cake came out of the pan.
Since the whole point of making the desert was to take it to some friends' house I needed to figure a way to transport the food so it wouldn't look inedible when it arrived. I decided to take the cake unfrosted. That choice gave me the opportunity to tackle a second recipe from The Red Box. I decided I could take the Lemon Topping in a separate dish.
I don't serve desert at home very often. One of the simplest things I've made, that Jeff really enjoys, is store-bought Angelfood Cake topped with warm cook-and-serve pudding. This cake, with this topping, seemed to be pretty similar to that. While the cake was baking I began the topping.


The ingredients for the lemon topping are simple. I pretty much usually have them on hand. Fresh lemon is key. You can't get zest from a lemon-shaped plastic bottle. I love the aroma of fresh lemon zest. Luckily I was able to get all the juice I needed from one lemon. After some furious stirring the topping really came together. I was glad to see it come to a boil because I knew it would thicken. Once off the heat the remaining ingredients came together really easily.
I tasted the sauce and was really surprised. It was a bit like a thin lemon curd. I loved the texture. It was thin enough to pour over the cake slices and never did begin to congeal unpleasantly. The nutmeg adds a bit of a surprise. I think it is a pleasant flavor but I think the nutmeg was slightly stronger than I'd like.

I put a couple of spoonfulls of the sauce on the platter before I transferred the cake to the serving dish so it wouldn't slide around in transit.

The cake was so enormous I had to use two widths of wrap to cover it.
When I unpacked the supplies and unwrapped the cake at the party house, one of the other party-goers said, "That cake is badass." I was delighted the other party goers all found it to be an appealing cake. I was concerned the topping may have thickened too much but I was so pleased to discover it was still a great, saucy, consistency.
Everyone said it was delicious and they enjoyed the sauce. I thought the cake was ever-so-slightly overcooked, which is odd because I baked it 5 minutes less than the instructions called for. I wonder if the heat of the day had anything to do with it. It soaked up the Lemon Topping and crushed strawberries quite well.

The spread at the party. I'm glad I chose to offer fresh berries as well as the cake and topping. It was refreshing on such a hot summer day.
Powdered Sugar Pound Cake
In large mixing bowl beat 3 cubes of butter or margarine until creamy. Sift 1 pound or 1 box of powdered sugar. Gradually add to butter, beating until mixture is light and fluffy. Beat in 6 eggs one at a time. Beat well after each addition. Beat in one teaspoon vanilla. Measure 2 3/4 Cups flour, and gradually beat into creamed mixture. Pour into greased and floured 10 inch tube cake pan. Bake in slow oven 300° for one and one half hours, or until toothpick comes out clean. Cool in pan 5 minutes. Turn out on rack. This cake freezes.
Lemon Topping
1 1/2 Cups water, heated
3/4-1 Cup Sugar
2 Tablespoons corn starch
1/4 teaspoon salt
1 egg, beaten
2 Tablespoons lemon juice
2 Tablespoons butter
1/4 teaspoon grated lemon rind
1/4 teaspoon nutmeg
Combine cornstarch, sugar, and salt. Add beaten egg then add hot water to mixture 2 tablespoons at first then add water slowly bring to boil. Stir until it thickens. Remove from heat add butter, lemon juice, grated rind, and nutmeg. Cool.
Serve as topping for cake.